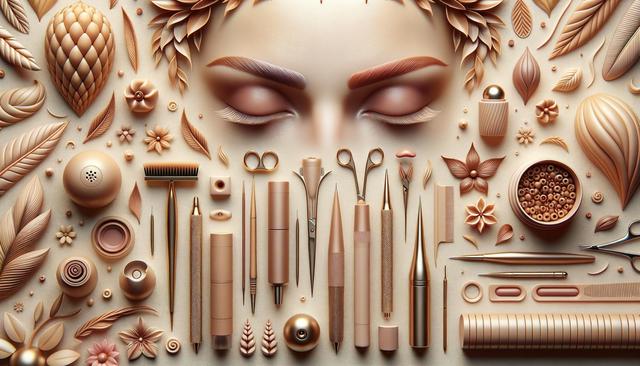
Understanding Microblading: What It Is
Microblading is a semi-permanent cosmetic tattooing technique designed to create the appearance of fuller, more defined eyebrows. Unlike traditional tattoos, which use a machine and go deeper into the skin, microblading involves manually depositing pigment into the upper layers of the skin using a fine blade. This allows for precise strokes that mimic the natural look of eyebrow hairs. The results typically last between 12 to 24 months, depending on skin type, lifestyle, and aftercare practices.
The treatment is especially popular among individuals who have sparse, over-plucked, or uneven brows, as well as those who want to save time on daily makeup routines. Microblading aims to enhance the natural shape and color of the brows without looking overly bold or artificial. The goal is subtle enhancement, not dramatic transformation.
Many people choose microblading for its ability to deliver a refined and long-lasting result. However, it’s crucial to remember that this procedure is a form of tattooing, and therefore, it requires careful consideration and professional application to ensure safety and satisfaction.
The Microblading Process: Step by Step
Getting microbladed brows involves a detailed and personalized process. It generally begins with a consultation, where the technician discusses the client’s desired shape, color, and overall look. This is followed by mapping the eyebrows to create symmetrical and natural-looking outlines.
The process typically includes these steps:
- Consultation and brow design
- Color matching based on skin tone and hair color
- Numbing the area with a topical anesthetic
- Microblading the brows using tiny, hair-like strokes
- Applying healing balm and post-care instructions
The entire procedure can take between 2 to 3 hours. While some discomfort is expected, most clients report a tolerable experience due to the numbing cream. It’s also important to note that a follow-up session is usually scheduled 4 to 6 weeks later to touch up any areas where the pigment has faded or needs refining.
Aftercare and Healing Process
Aftercare is a critical part of the microblading process and directly affects the final results. Proper healing ensures that the pigment settles evenly and the strokes remain crisp. The healing process can take around 4 to 6 weeks, during which the brows may go through various stages of flaking and fading before stabilizing.
Key aftercare tips include:
- Avoid getting the brows wet for at least 7–10 days
- Do not apply makeup or skincare products directly on the brow area
- Refrain from picking, scratching, or rubbing the brows
- Stay out of direct sunlight or tanning beds
- Apply the recommended healing balm as directed by the technician
Following these guidelines helps preserve the pigment and prevent infection or uneven healing. Remember, the initial color may appear darker and more intense, but it will soften as the skin heals. Patience is key during this phase.
Who Should Consider Microblading?
Microblading can be a great option for many people, but it’s not suitable for everyone. Individuals with healthy skin and realistic expectations typically see the most satisfying results. Those with certain skin conditions or medical issues may need to consult with a healthcare provider before proceeding.
Microblading might be a good fit for those who:
- Have over-plucked or thinning eyebrows
- Want to reduce time spent on daily brow makeup
- Have difficulty applying makeup due to vision or motor challenges
- Desire a natural enhancement rather than a dramatic look
However, it may not be recommended for people with active skin conditions near the brow area, such as eczema or psoriasis, or for those who are pregnant or nursing. It’s also important to disclose any allergies or medical conditions during the consultation to avoid complications.
Choosing a Qualified Microblading Technician
One of the most important decisions in the microblading journey is selecting a trained and licensed technician. Since the procedure involves breaking the skin, hygiene and experience are crucial. Look for professionals who have formal training, a portfolio of previous work, and positive client reviews.
When researching technicians, consider asking these questions:
- What certifications or training do you have?
- Can I see before-and-after photos of past clients?
- What sanitary practices do you follow?
- What pigments and tools do you use?
- What is included in the price (e.g., touch-up session)?
A reputable technician will take the time to answer your questions, offer a consultation, and provide clear aftercare instructions. Prioritizing safety and professionalism ensures a more comfortable experience and better results in the long run.


Leave a Reply